Creating Radio Buttons on a XTouch Control Panel
Radio buttons allow users to select one option from a predefined set of mutually exclusive choices.
To create radio buttons on a Xilica XTouch panel:
Ctrl-click the parameter in your design that you wish to control until it highlights yellow
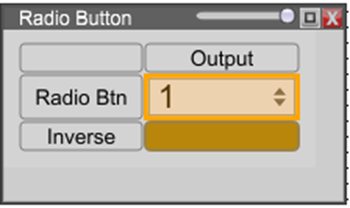
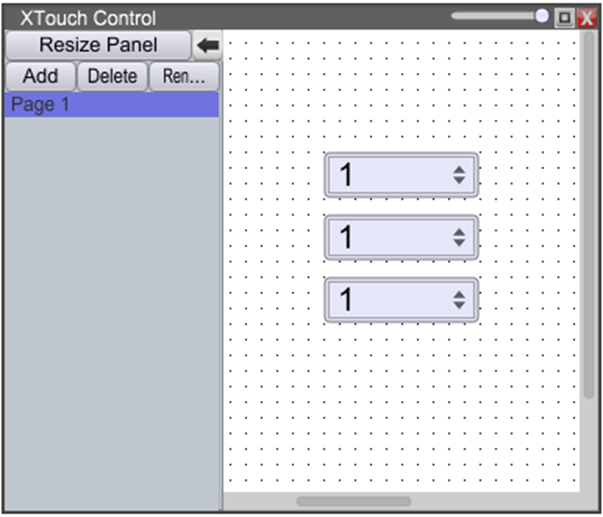
Drag that object onto the XTouch window
Copy and paste that object until you have the number of radio buttons that match your original menu items
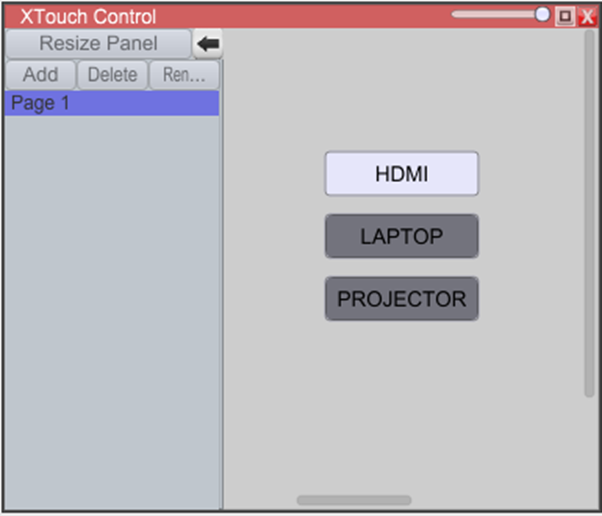
Arrange and resize the buttons as desired
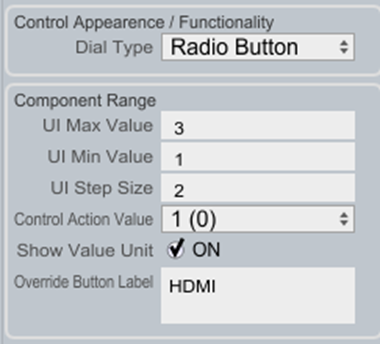
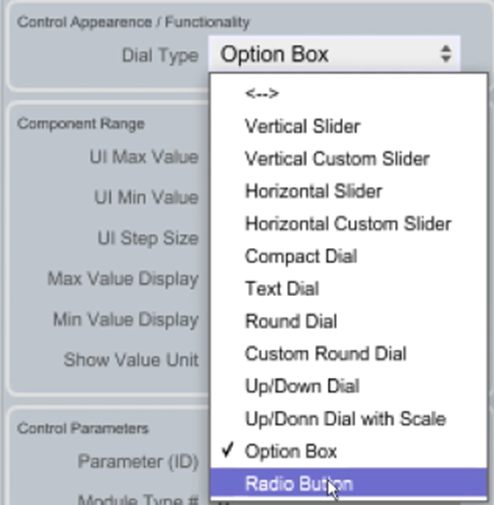
Highlight all buttons, then in Object Properties -> Control Appearance / Functionality, change the Dial Type to "Radio Button"
Adjust the Control Action Value so that each button has a unique value. Note that the value will be displayed numerically and logically:
Override Button Label = the text that will display on the selected button on the XTouch panel
Control Action Value = the sequential numerical value of the selected button in this group
UI Step Size = the step size that this control object will increment/decrement
UI Min Value = first button value in group
UI Max Value = total number of buttons in this group